CATEGORIES:
BiologyChemistryConstructionCultureEcologyEconomyElectronicsFinanceGeographyHistoryInformaticsLawMathematicsMechanicsMedicineOtherPedagogyPhilosophyPhysicsPolicyPsychologySociologySportTourism
Creating a Private Zone and Setting a PasswordUser’s Manual Transcend JetFlashВ®ВSecureDrive
Thank you for purchasing Transcend’s USB Flash drive with built-in 256-bit AES encryption security. JetFlashВ®ВSecureDrive helps you safeguard data by creating a private, password-protected area on your JetFlash drive. ВOnce enabled, nobody but you will be able to see or access files stored within the Private Zone.
Contents
System Requirements. 2 Creating a Private Zone and Setting a Password. 3 Using the Private Zone. 7 Resizing Your Private Zone. 10 Logging Out of Your Private Zone. 12 Changing Your Password. 13 Closing the Program.. 15 FAQ.. 16 More Help. 17
System Requirements Compatible MicrosoftВ®Вoperating systems:
Note: You must have Administrator privileges to run the SecureDrive utility. Back to top
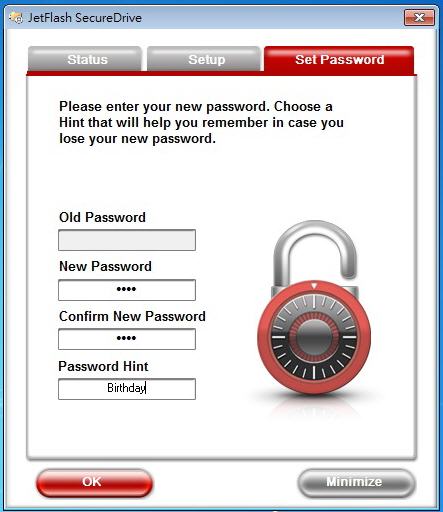
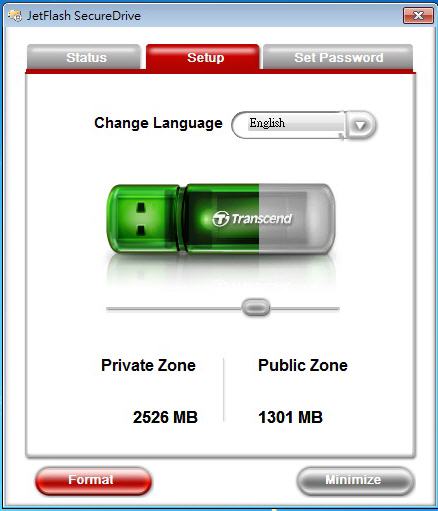
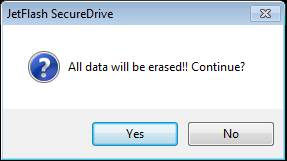
Creating a Private Zone and Setting a Password
Figure 2-1
Figure 2-2
Figure 2-3
Figure 2-4
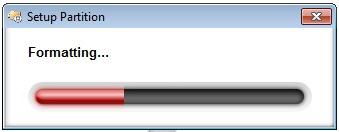
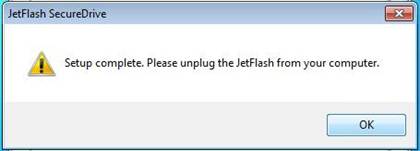
Figure 2-5
Figure 2-6 Note: You must unplug your JetFlash from the computer after formatting. ВSimply plug your JetFlash back into the computer to begin using your Private Zone. ВВВВВВВВВВВ Back to top Date: 2015-01-11; view: 1020
|