CATEGORIES:
BiologyChemistryConstructionCultureEcologyEconomyElectronicsFinanceGeographyHistoryInformaticsLawMathematicsMechanicsMedicineOtherPedagogyPhilosophyPhysicsPolicyPsychologySociologySportTourism
Lower Drive SurroundParts: Lower Drive Surround (Section One) Lower Drive Surround (Section Two)
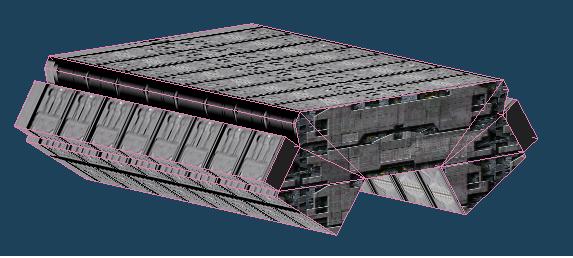
Cut out the parts listed above and score along indicated lines. Attach Section One to Section Two at the area marked with an “X”. Fold/assemble into the shape seen below:
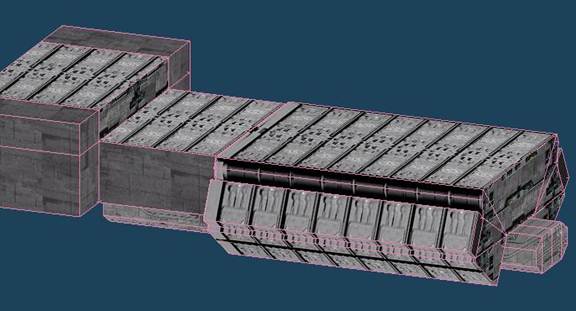
Attach Lower Drive Surround to the top of Lower Drive Tube, aligning as shown below.
Note that the rear edge of Lower Drive Surround is attached to the front edge of Lower Drive Block. Note that the top edges of Lower Drive Surround and Lower Drive Block are flush.
Attach this completed Assembly to the Bridge Supports Lower (R/L) as shown below. Carefully note alignment.
Note that the Lower Drive Surround is attached to Bridge Supports Lower by a small space along the INNER edge of each Bridge Support.
It is critical that Lower Drive Surround be firmly glued to these areas of the Bridge Supports.
See red circled areas below:
Attach completed Ring Top Assembly to Ring Bottom Assembly and rear of Tunnel Aft.
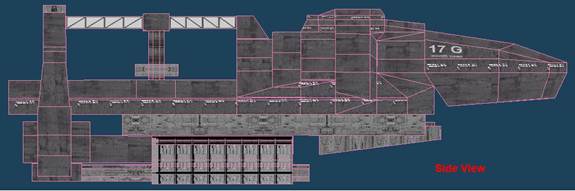
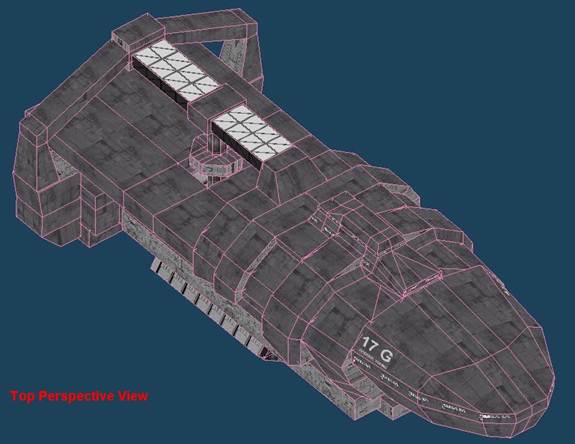
Your model should now look as below:
Side View:
Top Perspective View:
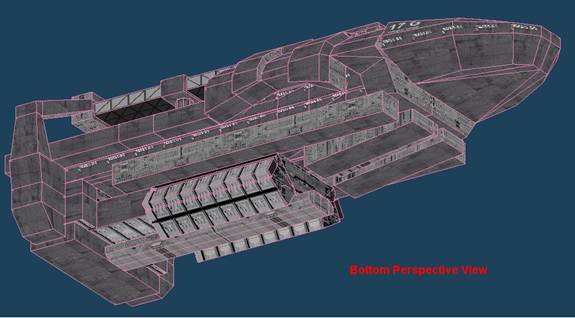
Bottom Perspective View:
Main Hull Assembly Date: 2015-02-16; view: 567
|